Digital Invitations·7 min read
How to Create a Digital Wedding Invitation, Step by Step
How to create a digital wedding invitation: gather your details, choose a design, write the wording, set up RSVPs and test it on a phone before you send it.

By Aurelia Editorial Team · Wedding stationery & planning guides
Published ·Updated
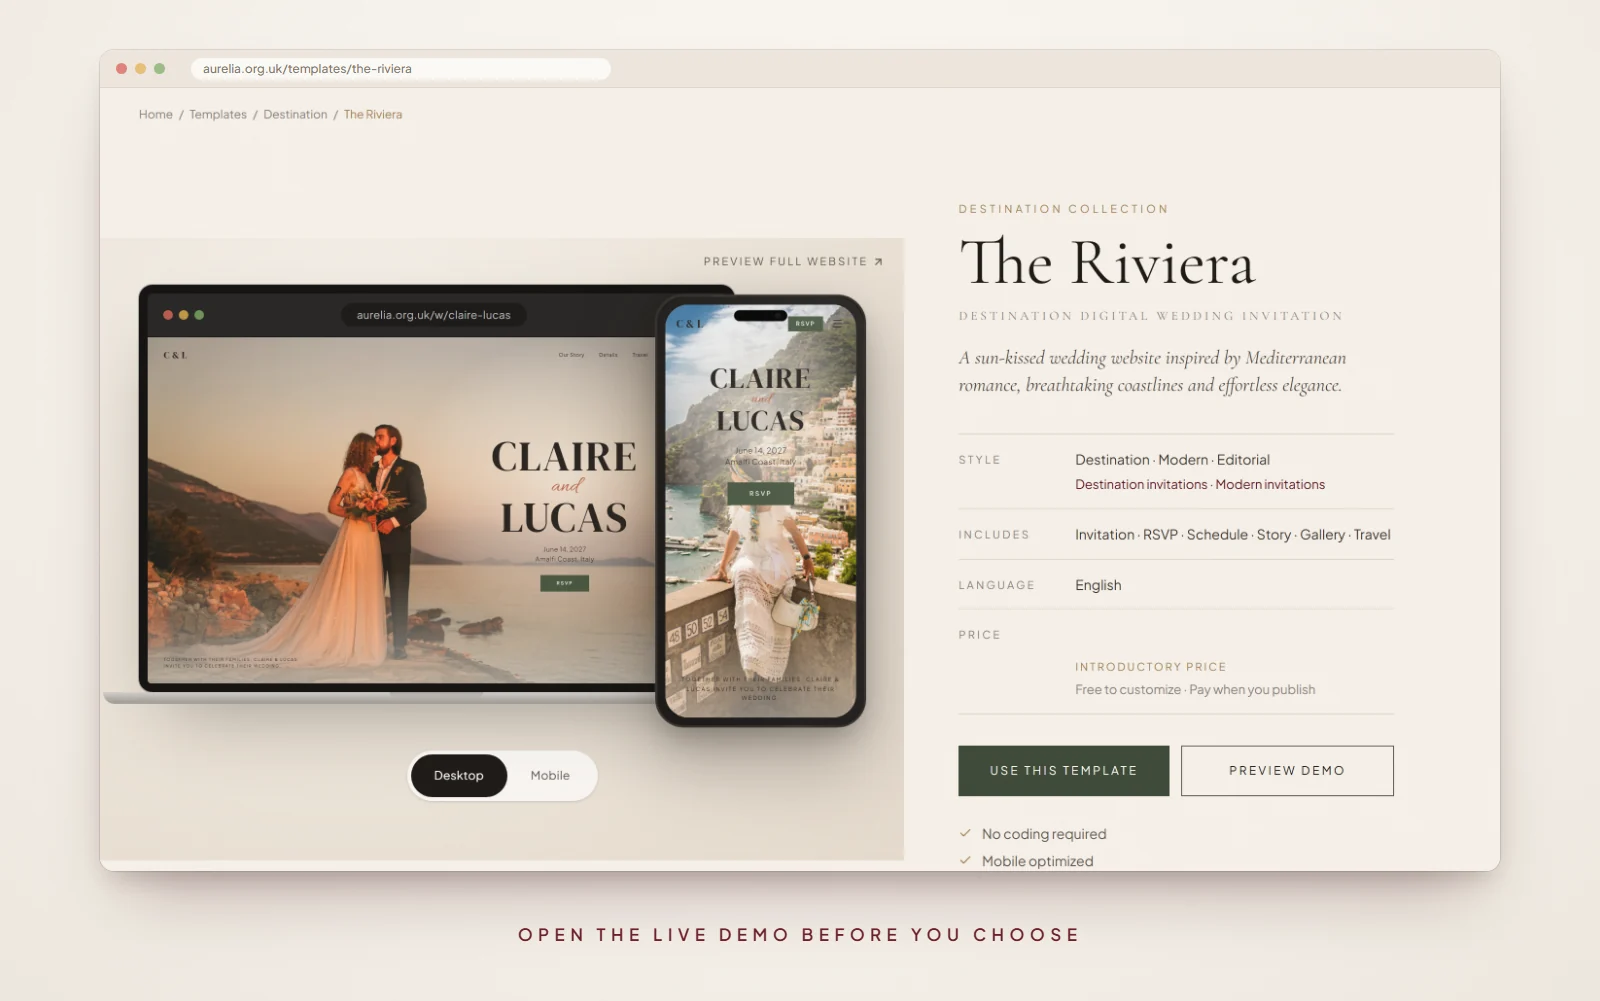
This guide walks through each step on Aurelia, with screenshots of the real editor, but the same order works whichever tool you use. Want to see the finished result first? Every one of our invitation templates opens as a live demo; here is the one used in the screenshots below.

The Riviera
Claire & Lucas
A weekend on the Amalfi Coast: invitation, schedule, travel and RSVP behind one link.
Before you start: the details you need
- Your names, as you want them to appear.
- The date, and the start time of the ceremony.
- Ceremony and reception venues, with full addresses.
- The order of the day, or of each day for a weekend wedding.
- Your RSVP deadline.
- Your guest list, grouped by household.
- A few photos you love.
You do not need everything on day one. Start with the names, date and venues, and add the rest as plans firm up.
Step 1: Choose the kind of invitation
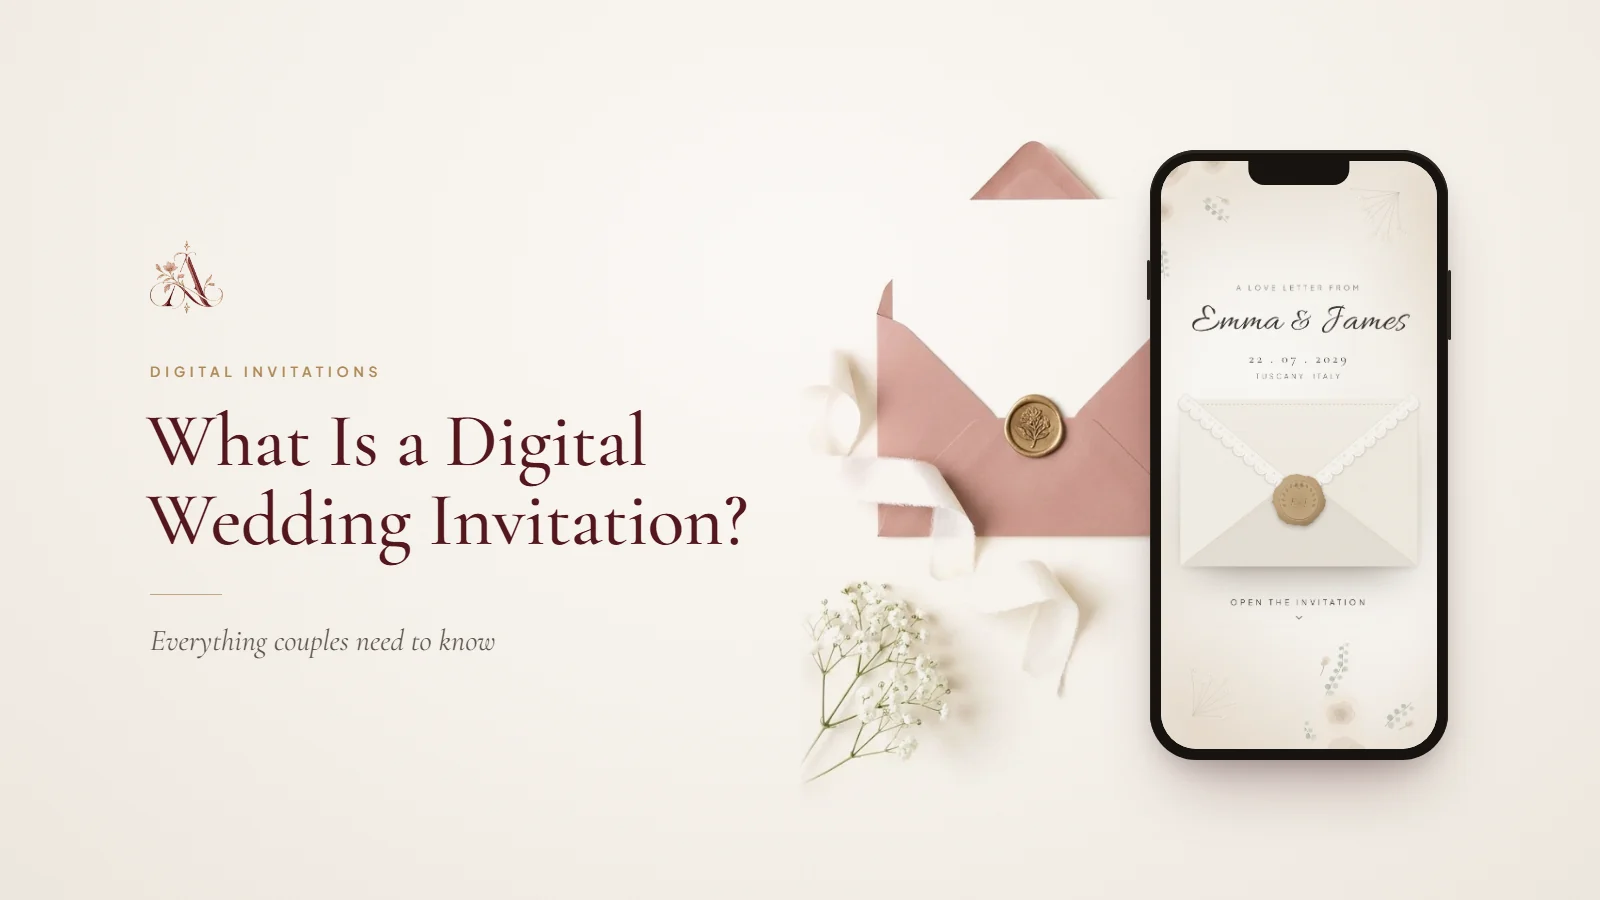
Decide between an image invitation, which you design once and send as a picture, and a website-style invitation, which holds your details and collects RSVPs. If you are unsure, our guide to what a digital wedding invitation is explains the difference. The rest of this guide covers the website-style kind.
Step 2: Pick a design and open its demo
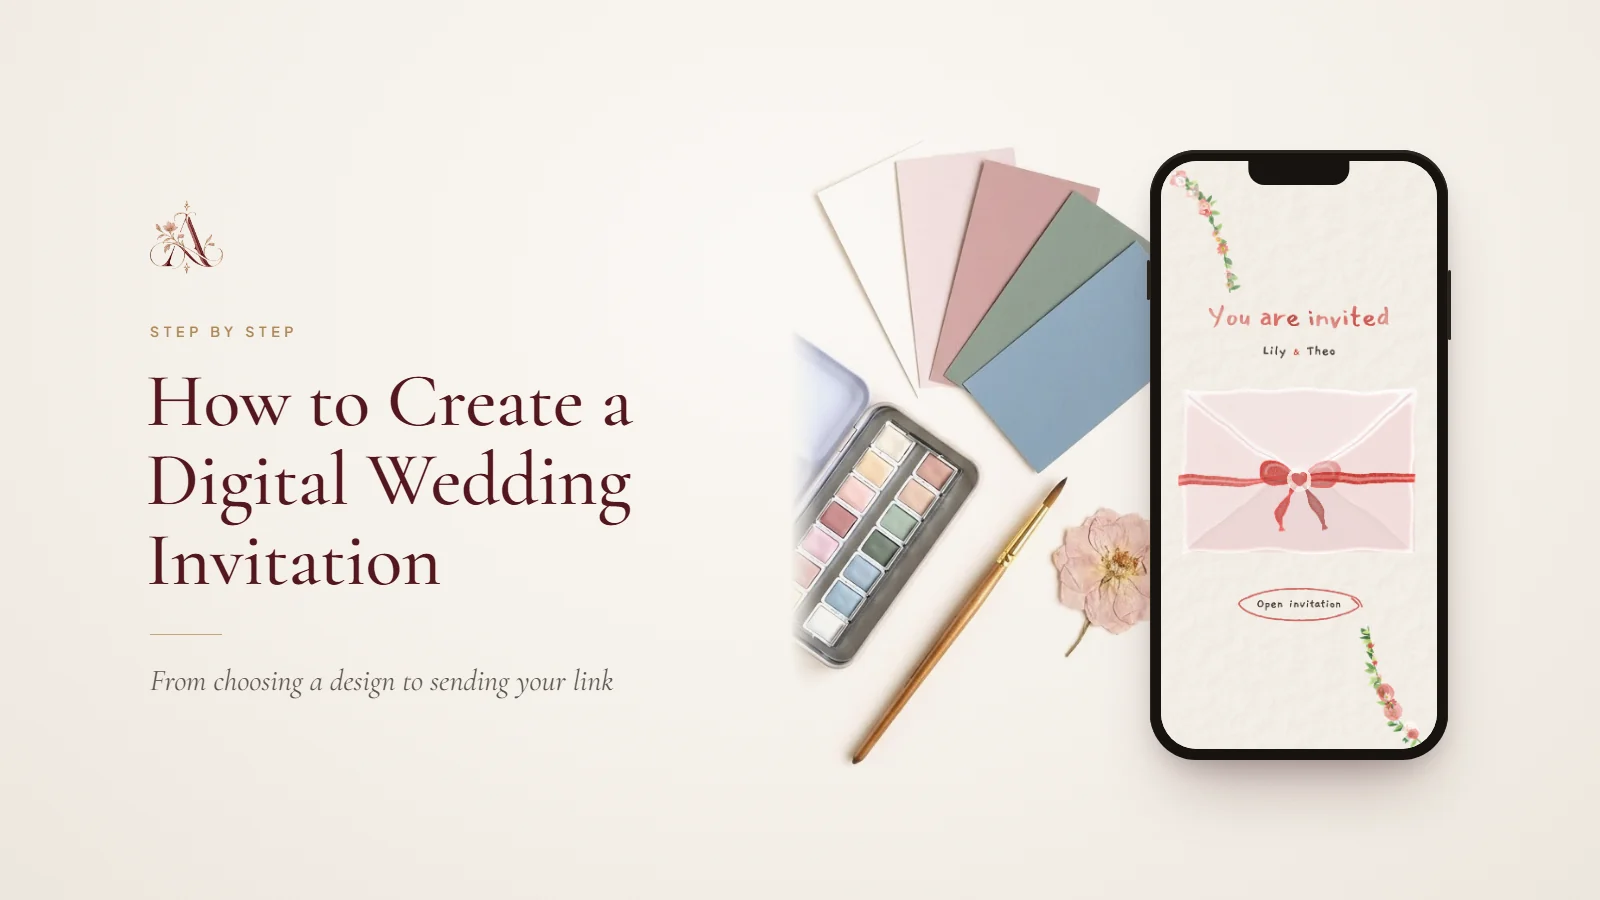
Let the venue and the feel of the day guide you. A garden wedding suits soft watercolour and florals; a city celebration suits clean lines; a weekend abroad needs room for travel details. Browse by style, such as floral, romantic or destination templates, and open the live demo before you decide: it shows exactly what guests will see, on a phone and on a computer.
Step 3: Add your names and date
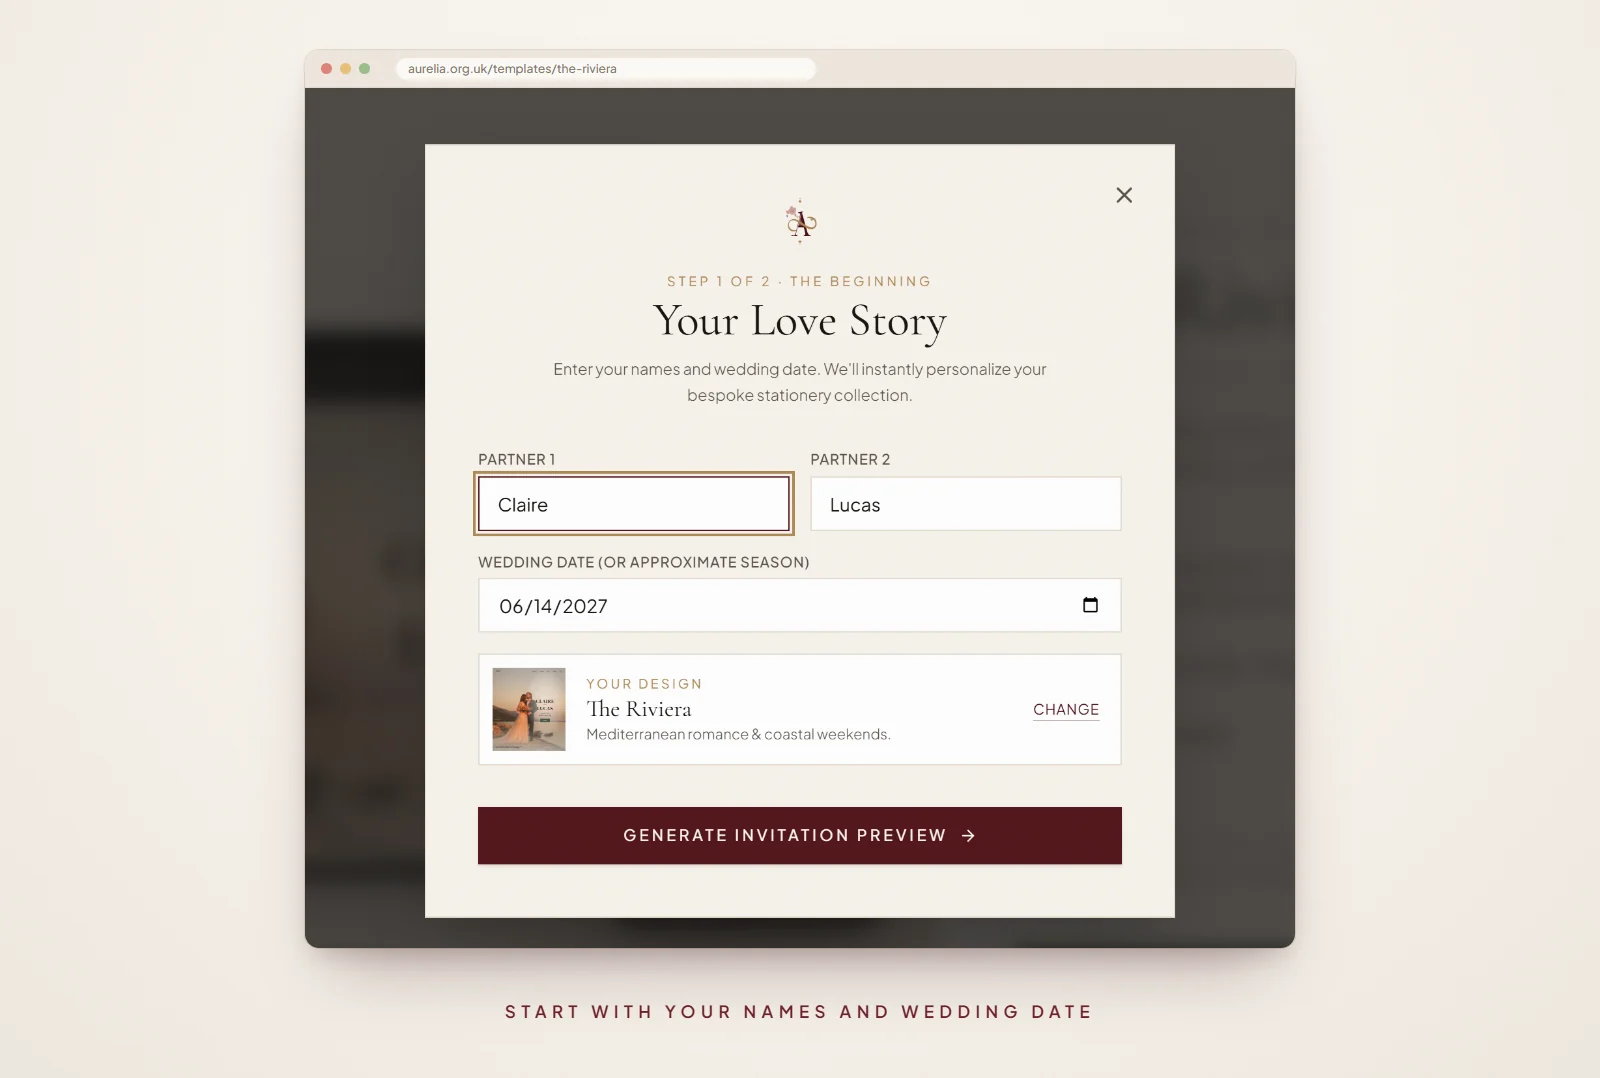
Choose Use this template, then enter your names and wedding date (an approximate season is fine). Aurelia sets them into the design straight away, so the first preview already looks like your invitation. You create a free account at this point to save your work.
Step 4: Fill in each section
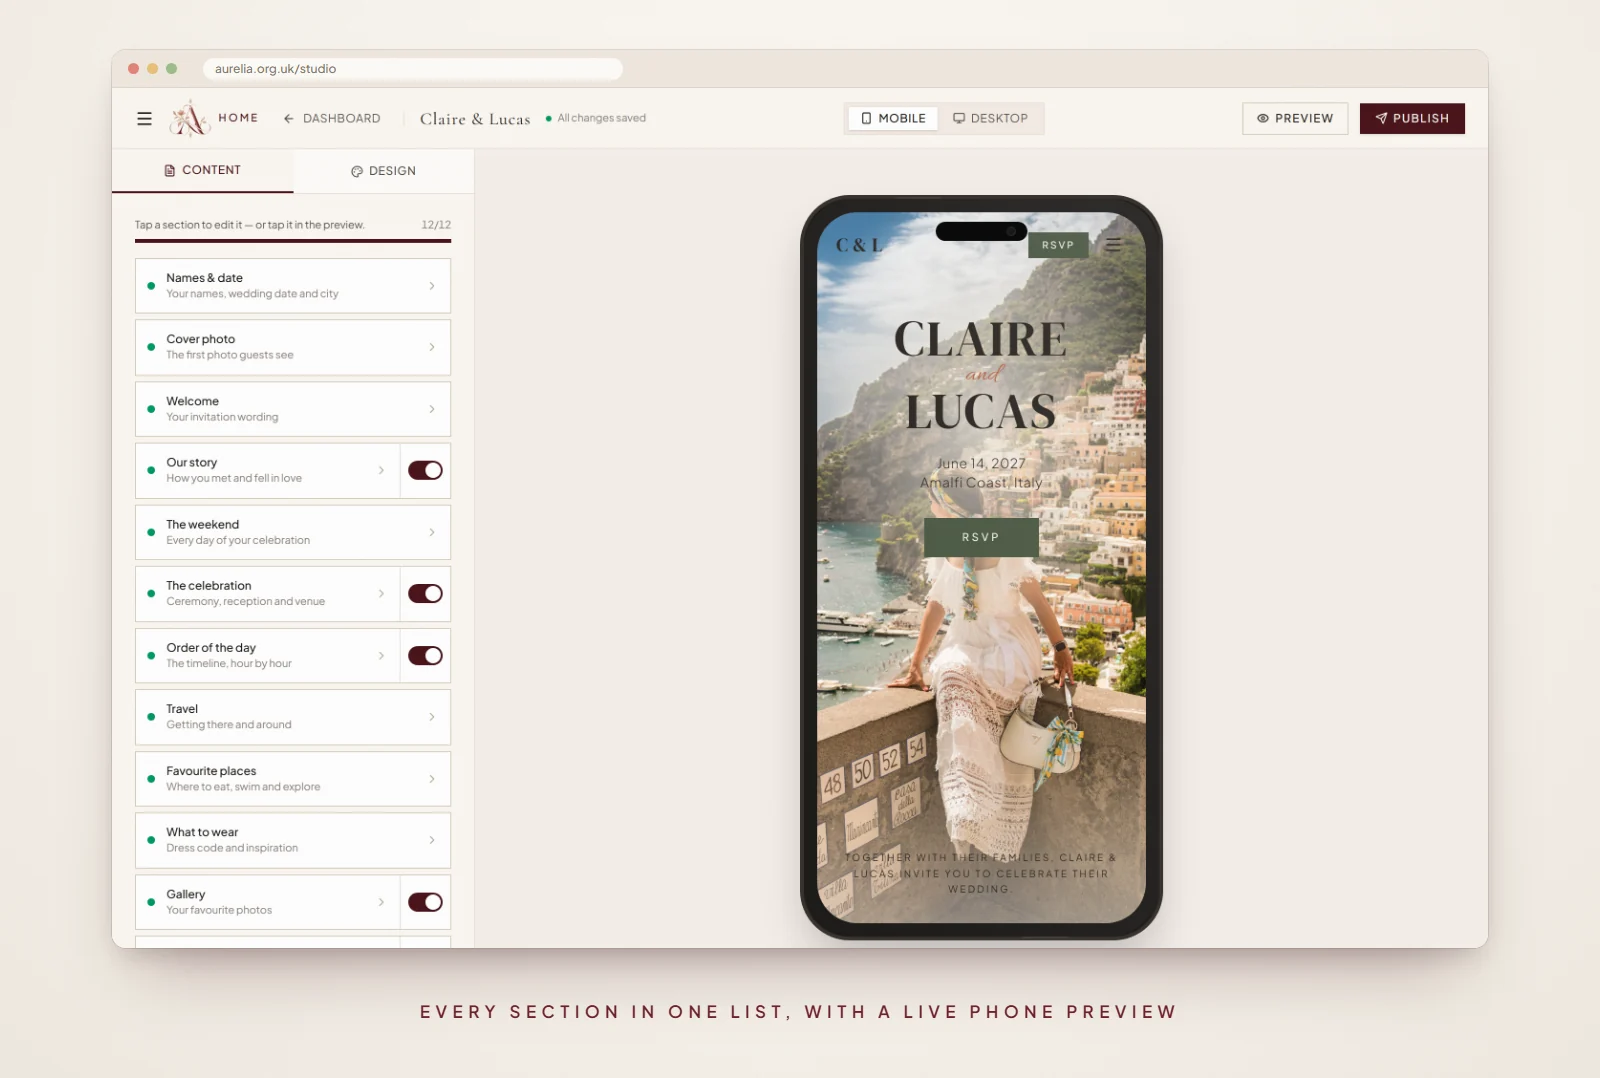
The editor lists every section of your invitation on the left, with a live phone preview on the right. Work down the list: cover photo, welcome, story, schedule, venues, travel, dress code, gallery and RSVP. A green dot shows each section that is filled in, and the switches hide any section you do not need.
The practical sections are where a digital invitation earns its place. Add the schedule, a map link for each venue, the dress code, parking and accommodation. Our wedding website checklist lists everything guests tend to ask about.
Step 5: Write the wording
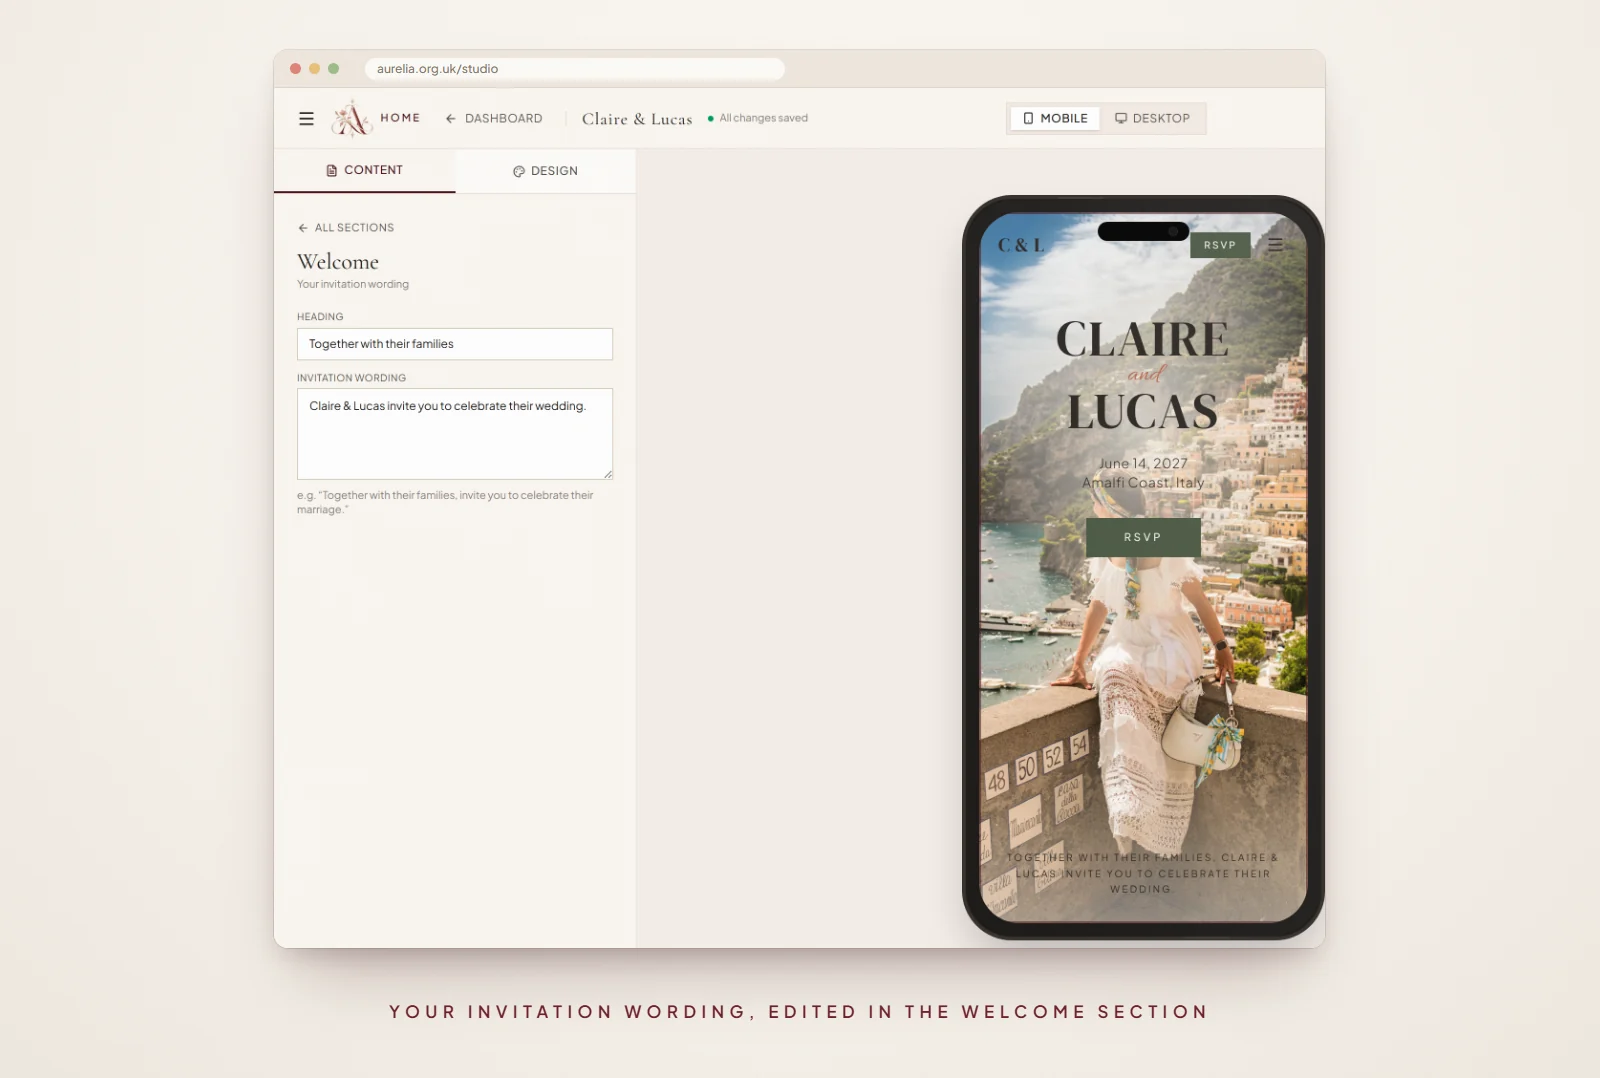
Your invitation wording lives in the Welcome section: a short heading and a few lines that say who is hosting, who is getting married and that guests are invited. The date, venue and reply-by date already appear elsewhere in the design, so keep this part short and personal. Our wedding invitation wording examples cover formal, modern and relaxed styles you can copy.
Together with their families Claire & Lucas invite you to celebrate their wedding on the Amalfi Coast
Step 6: Make the design yours
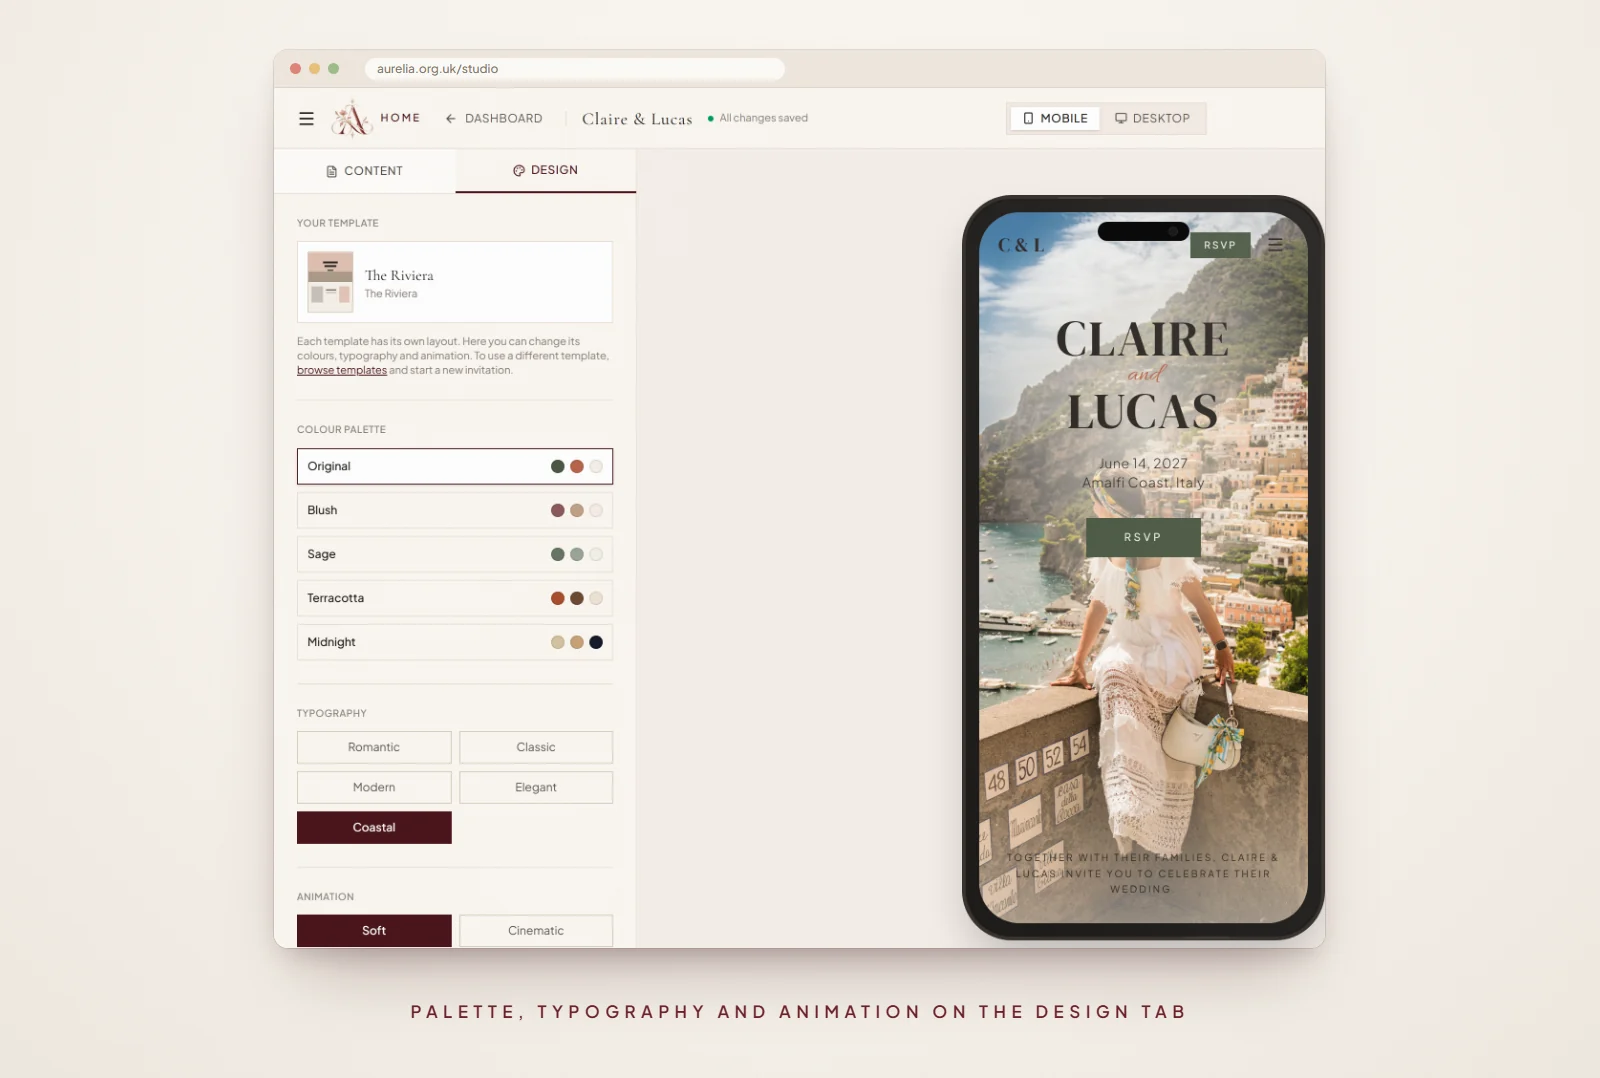
On the Design tab, choose a colour palette, a typography style and how gently the invitation animates as it opens. Change the cover photo in its own section. Every change shows in the preview at once, and you can switch it between phone and desktop.
Step 7: Set up your RSVPs
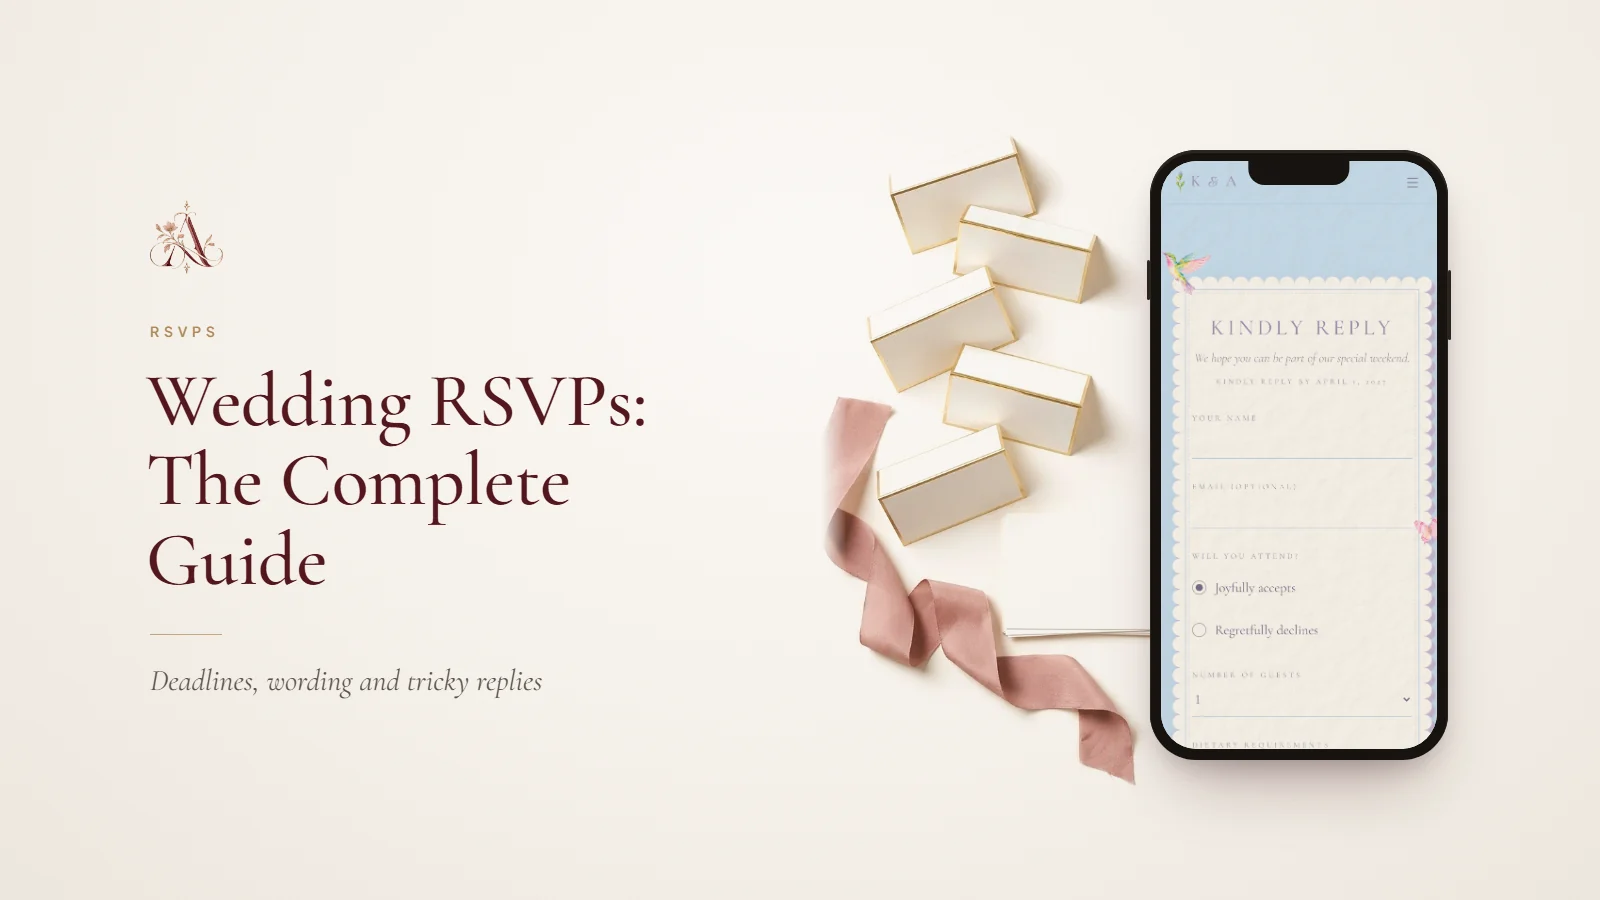
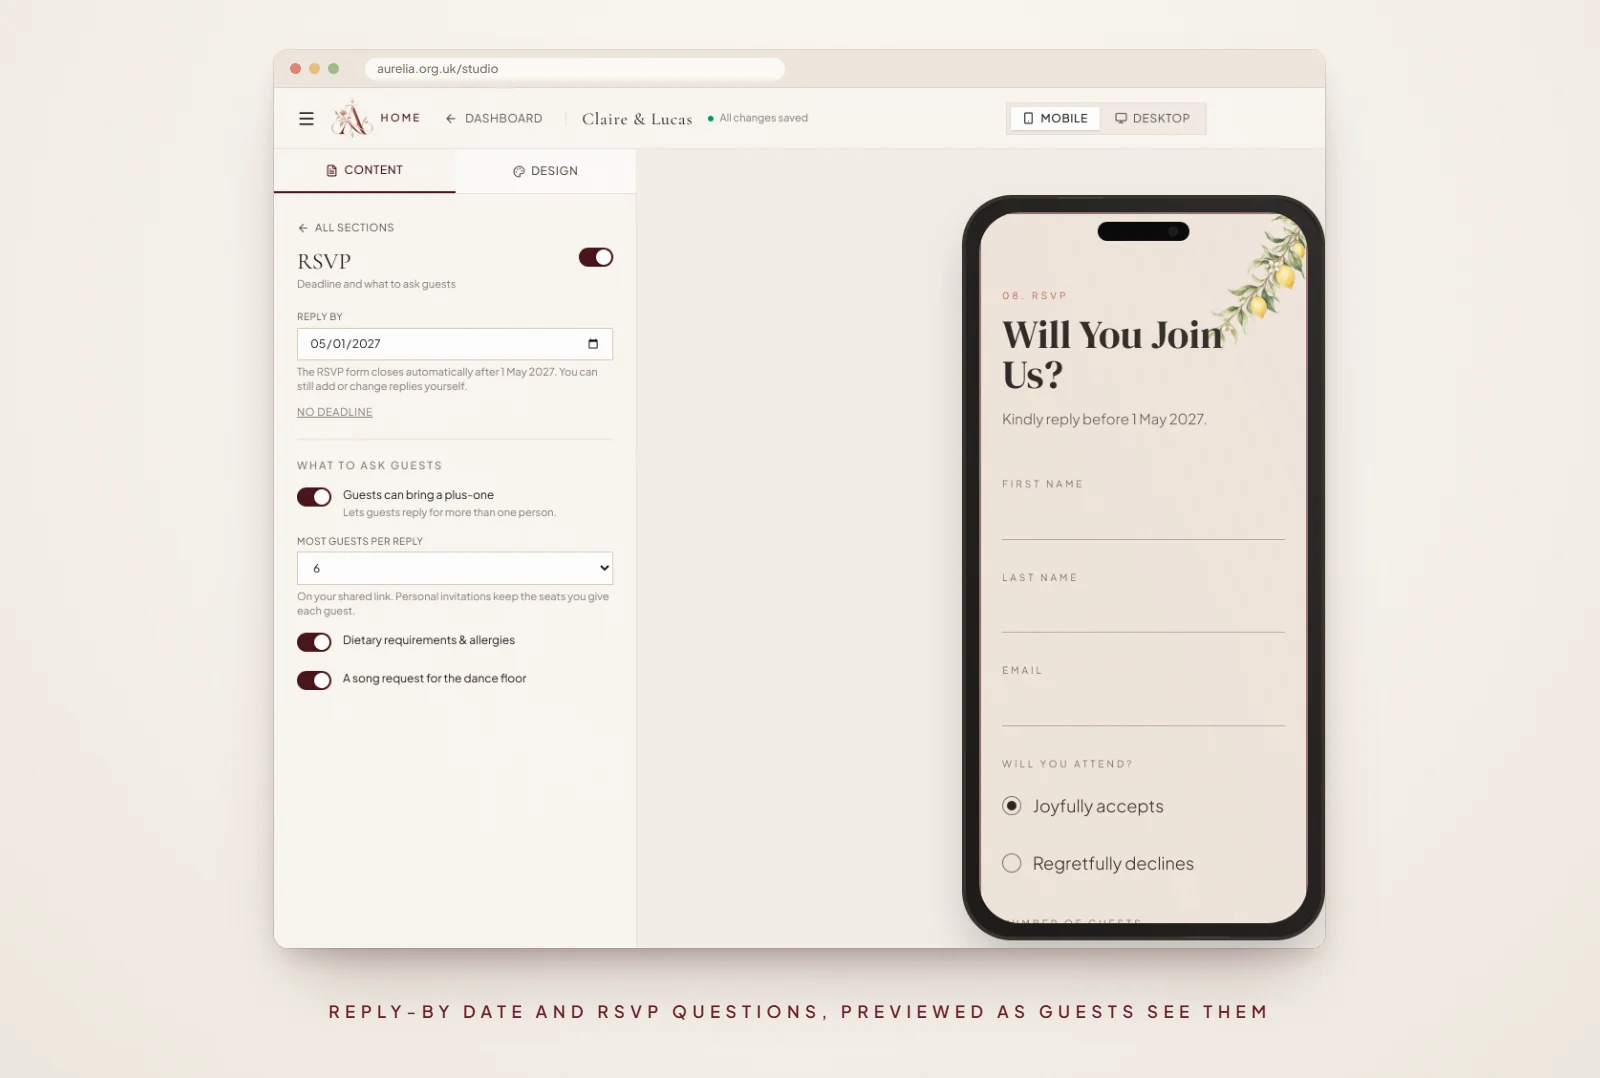
Open the RSVP section and set a reply-by date three to four weeks before the wedding; the form closes by itself after that day. Then choose what to ask: whether guests on your shared link can bring a plus-one and how many people one reply can include, plus dietary requirements and a song request if you want them. Our wedding RSVP guide explains how to set the deadline and what to ask.
Step 8: Preview it on your own phone
Choose Preview and open the invitation on your own phone, as most guests will. Then work through this list:
Check before you publish
0 of 6 readyUse this checklist while you read. Your selections reset when you leave this page.
Step 9: Publish and share
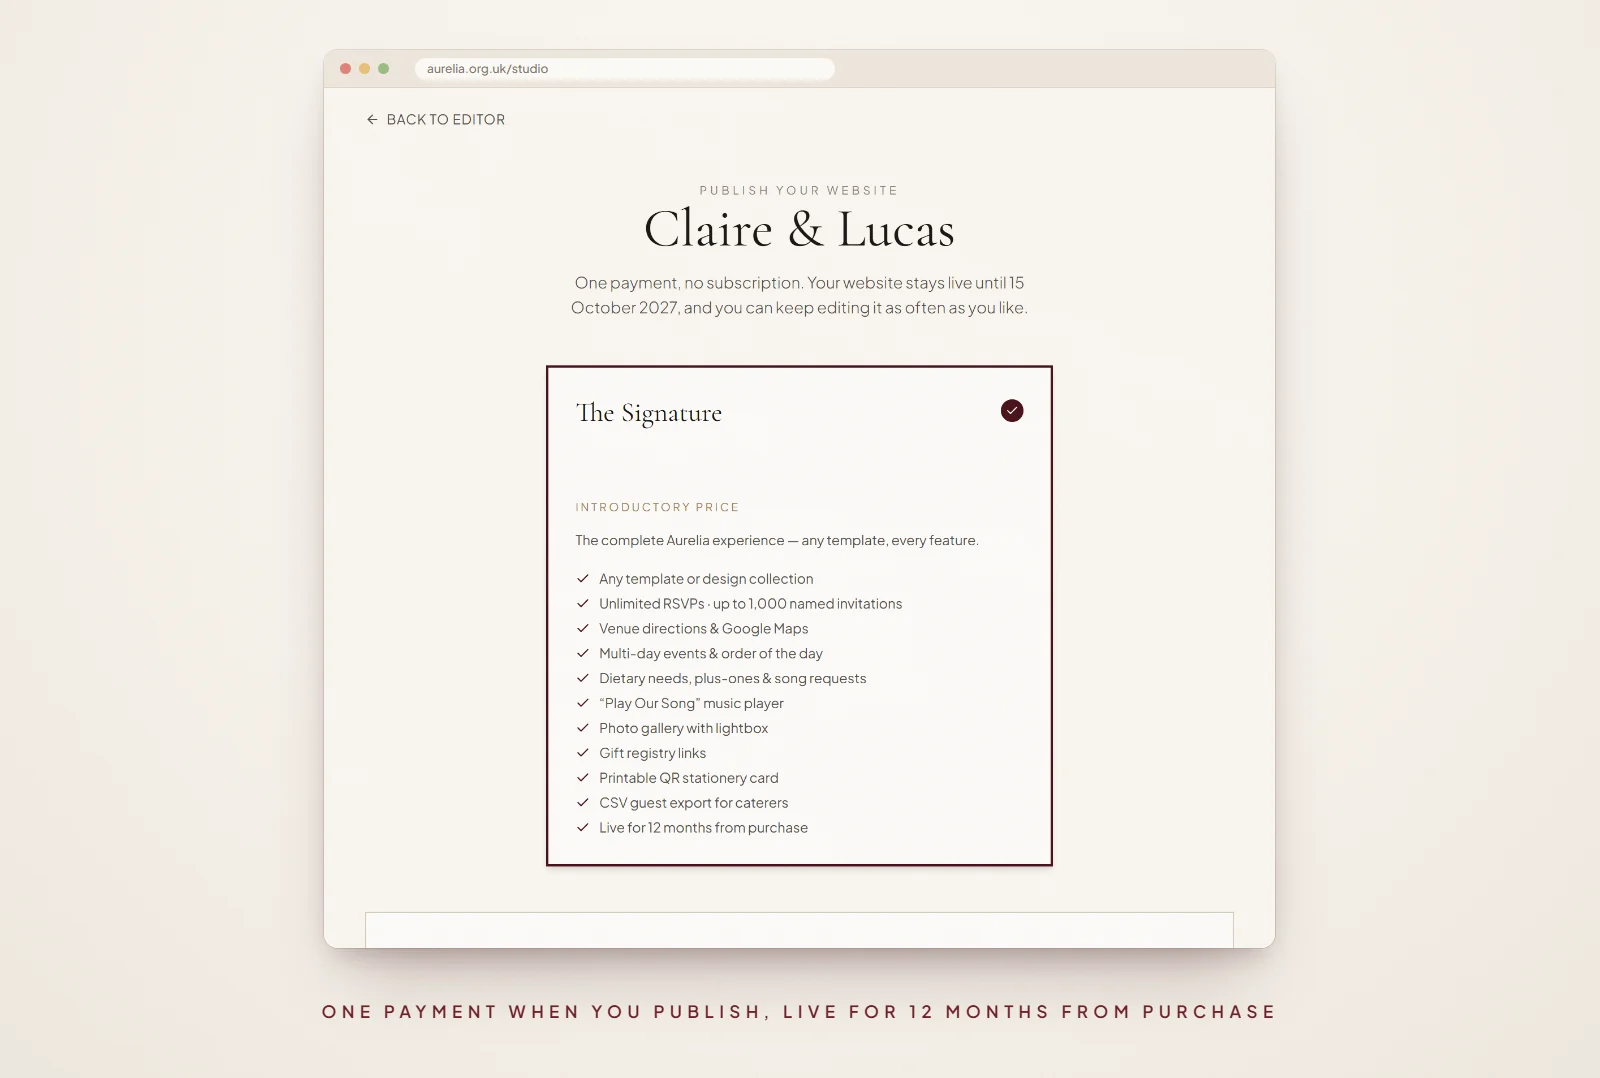
Designing and previewing on Aurelia are free. When the invitation is ready, choose Publish and pay once: there is no subscription, and your invitation stays live for 12 months from the day you pay. You can keep editing afterwards; choose Update live site to show saved changes to guests at the same link.
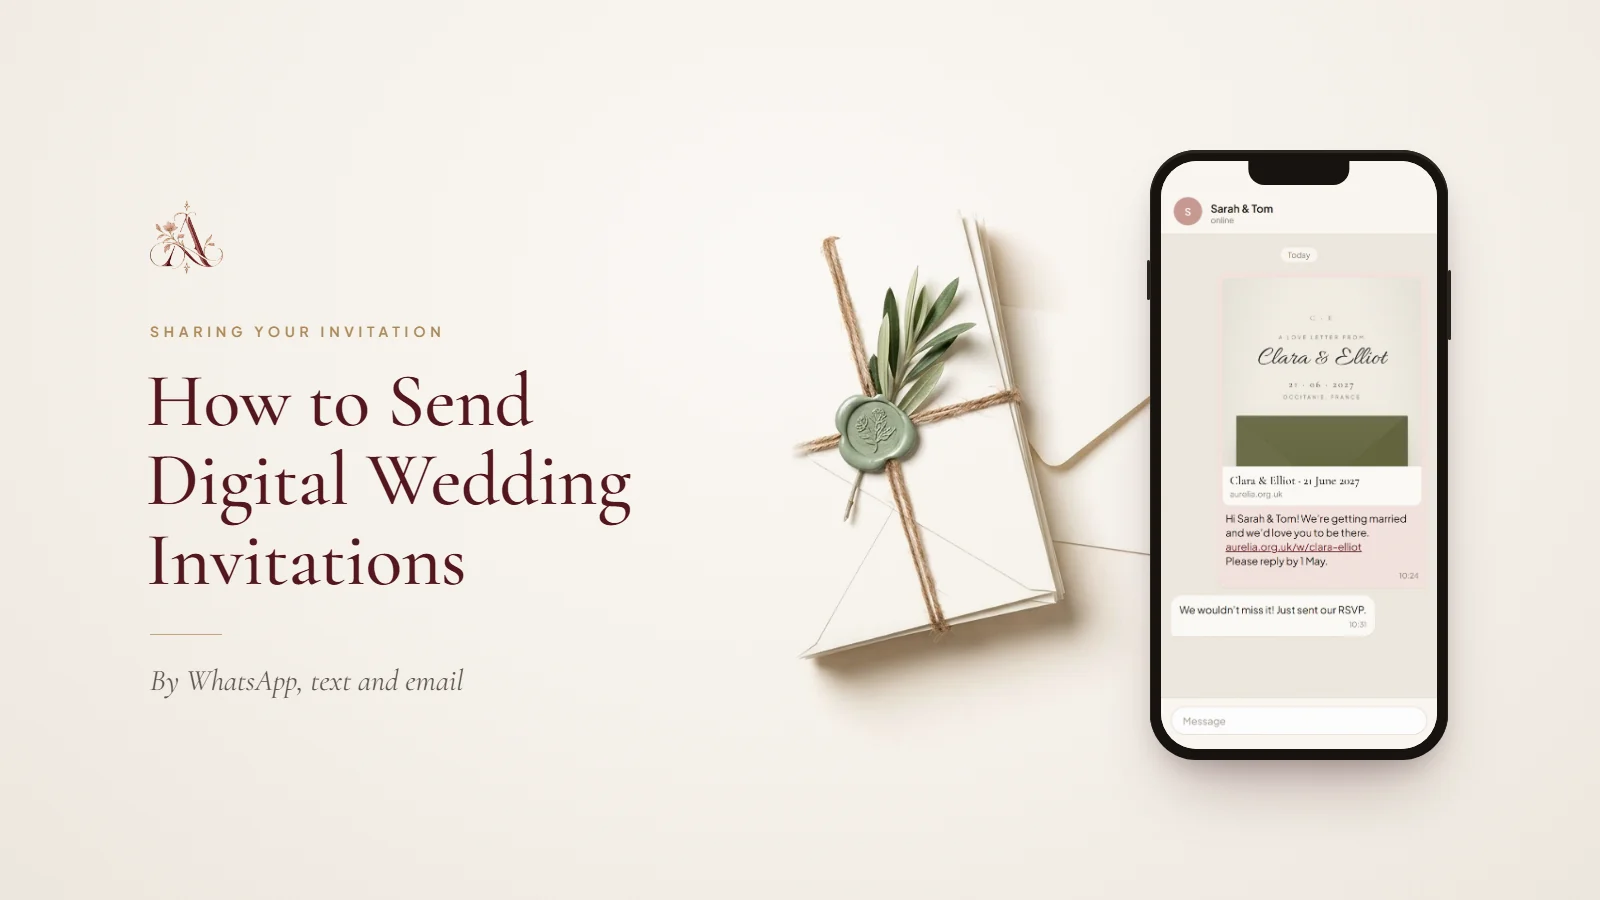
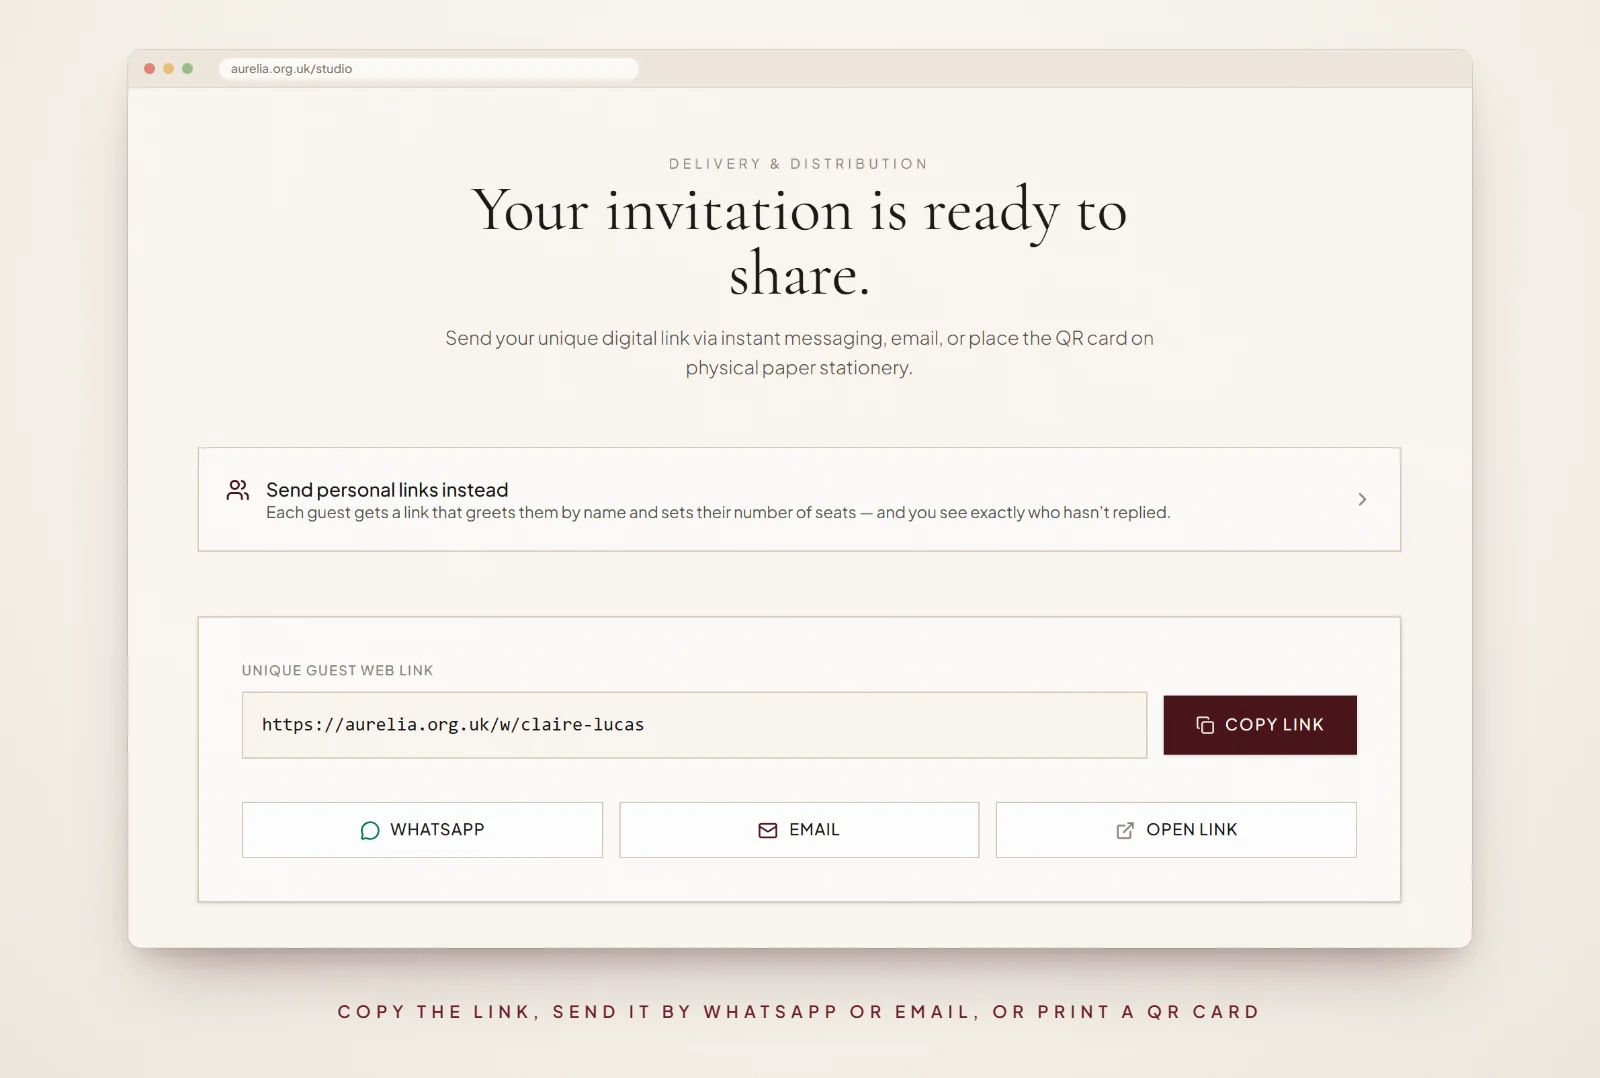
Then open Share. Copy your link, send it straight to WhatsApp or email, or print the QR card for guests who prefer paper. For guests you want to greet by name, add them to your guest list and send each household its personal link instead. Our guide on how to send digital wedding invitations has example messages for WhatsApp, text and email.
Design tools or a website-style invitation?
General design tools are a good choice if you want a single image and are happy to collect replies by message. A website-style invitation takes a little longer but holds every detail, collects RSVPs, and can be updated after sending.
- Choose a design tool if: your wedding is small, local and simple, and an image says everything guests need.
- Choose a website-style invitation if: guests are travelling, there is more than one event, or you want RSVPs in one list.
Questions about creating a digital invitation
- How long does it take to create a digital wedding invitation?
- Starting from a template, most couples have a first version in an afternoon. Allow a few extra sessions to add travel details, photos and the final wording.
- Can I make a digital wedding invitation for free?
- Some tools are free for simple images. With Aurelia, designing and previewing your invitation is free, and you pay once only when you publish and are ready to send it.
- Can I add photos and music?
- Yes. Most website-style invitations include a photo gallery, and some designs have a music player guests can tap to play your song. Open a template’s demo to see what it includes.
- Can I change my invitation after sending it?
- With a website-style invitation, yes. In Aurelia, save your edits and choose Update live site so guests see the updated version at the same link. Tell them directly about important changes. An image invitation would need to be sent again.
Part of our digital invitations guides. Start with What Is a Digital Wedding Invitation? Everything Couples Need to Know, or see every guide on this topic.